Table of Contents
GNS3 installation procedure
The procedure for installing GNS3 is as follows
- Download the installer
- Run the installer
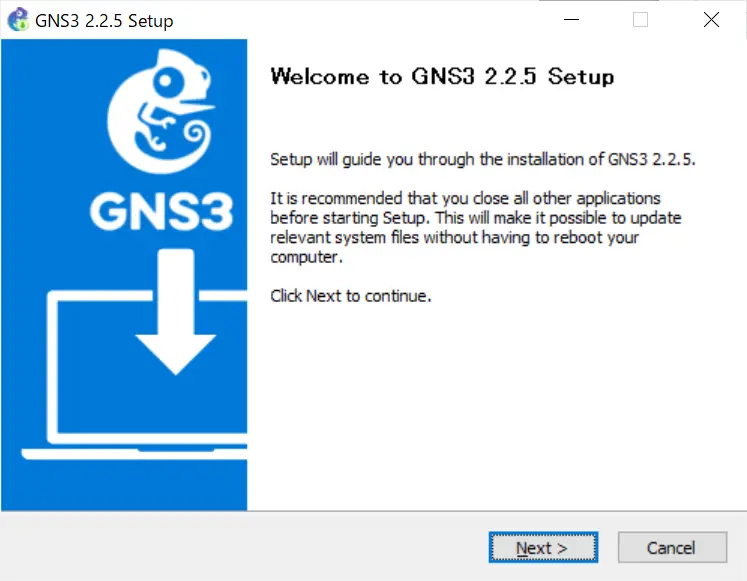
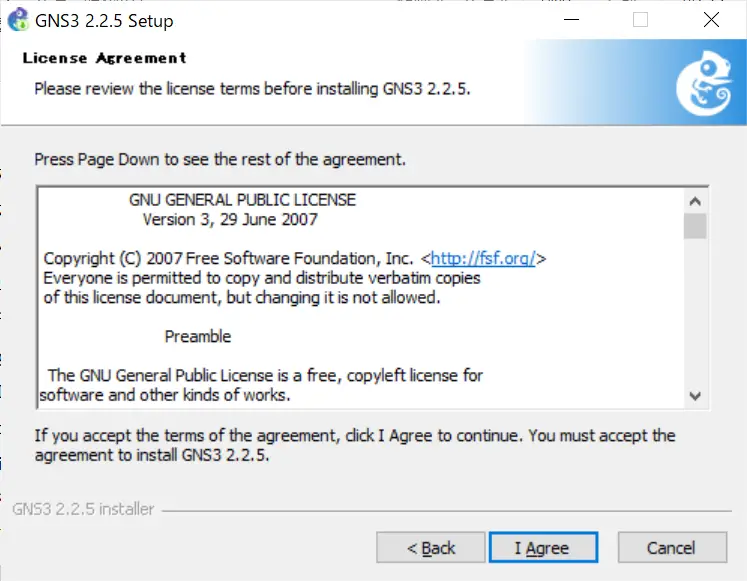
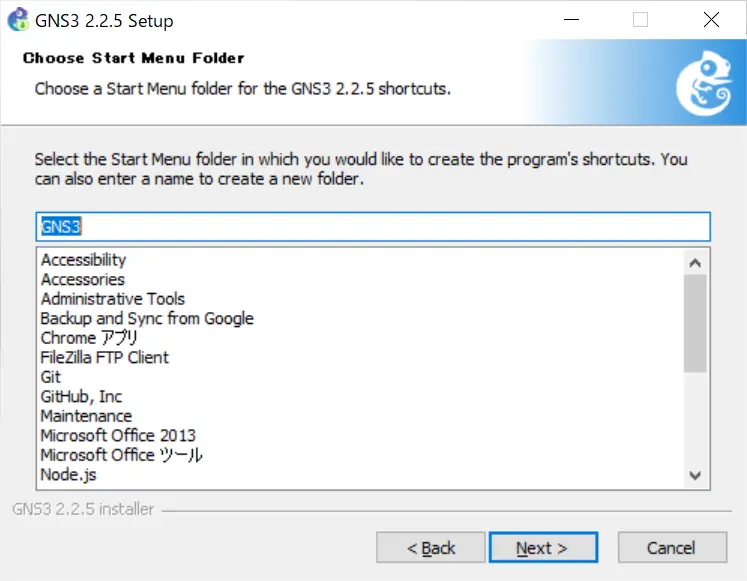
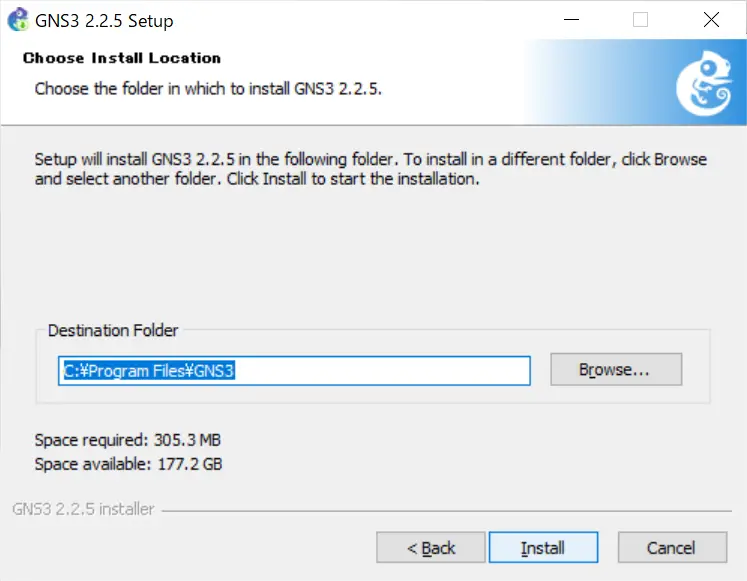
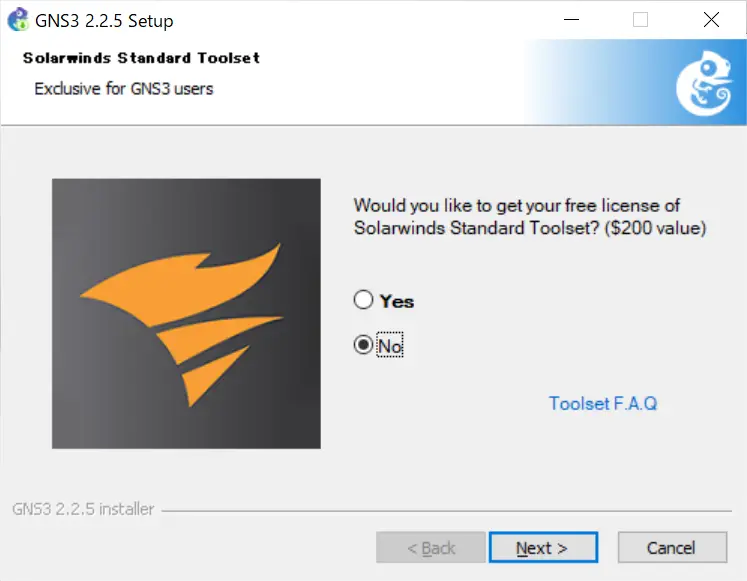
To install GNS3, just run the installer and proceed as with most common applications. You don’t need to make any changes from the default state, just click the buttons such as [OK], [Next] and [Agree].
Download the GNS3 installer
You can download the installer for GNS3 from the official website.

You will need to create an account before you can download.
Screenshot of GNS3 installation
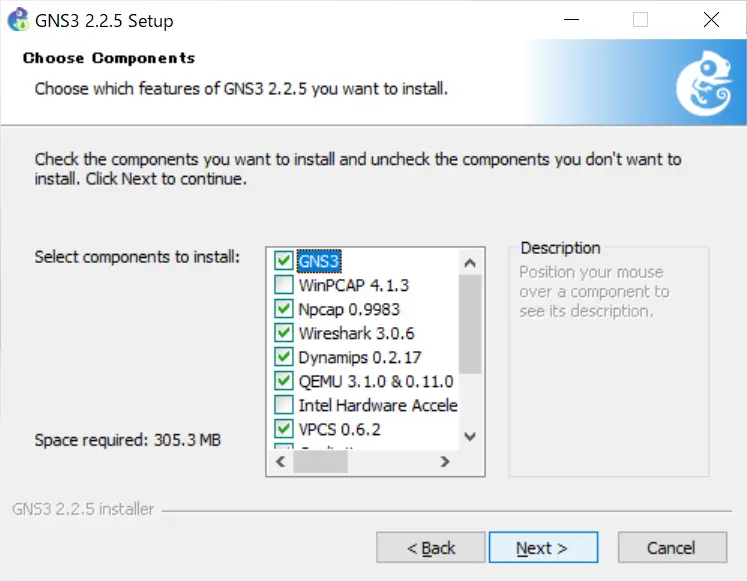
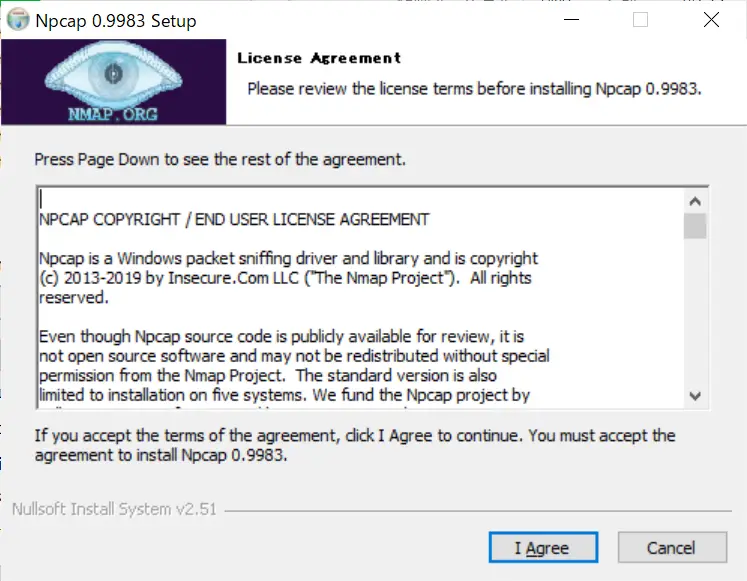
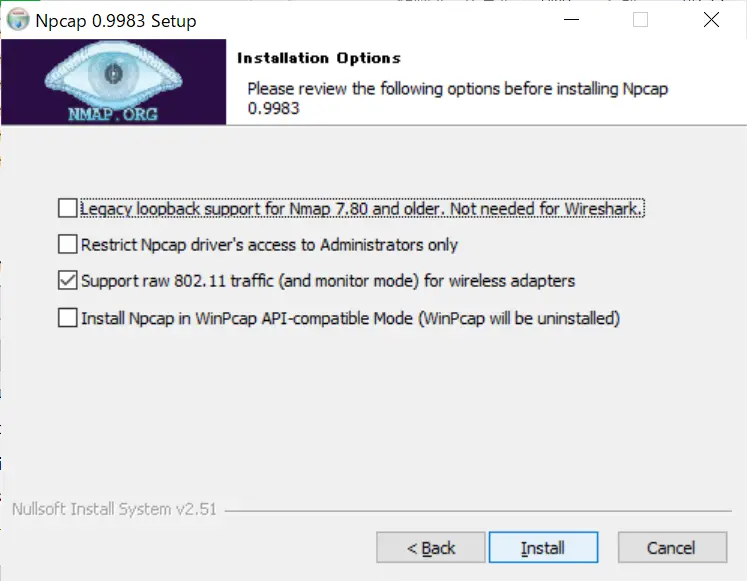
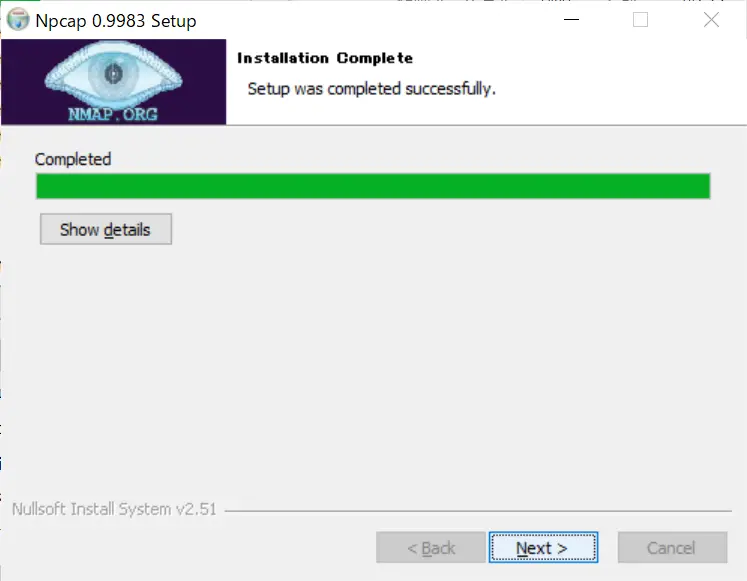
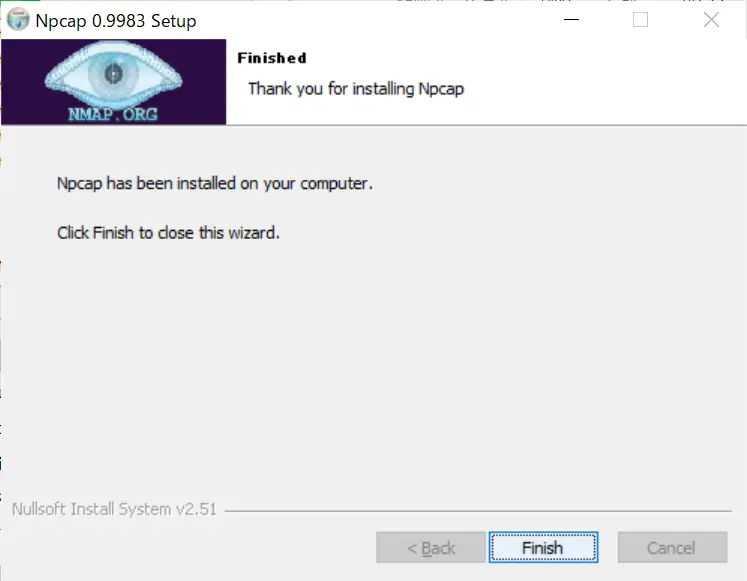
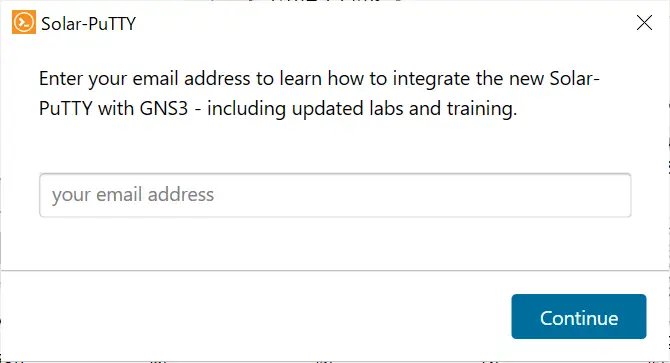
When you run the GNS3 installer and install GNS3, the associated application is installed along with it.
- Npcap
- Wireshark
- Solar-Putty
The following is a screenshot of the GNS3v2.2.5 installer.
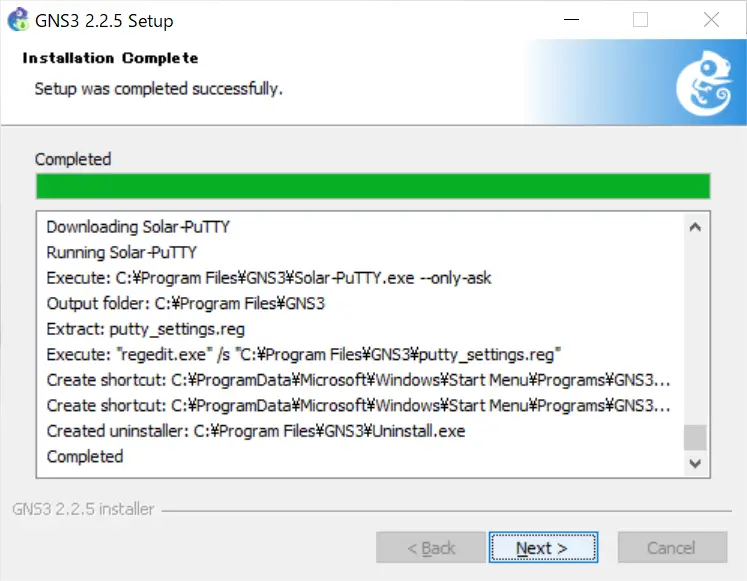
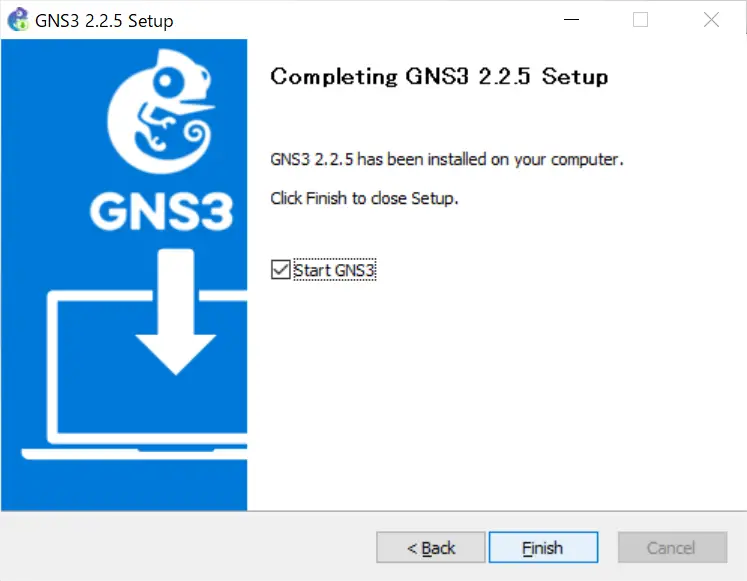
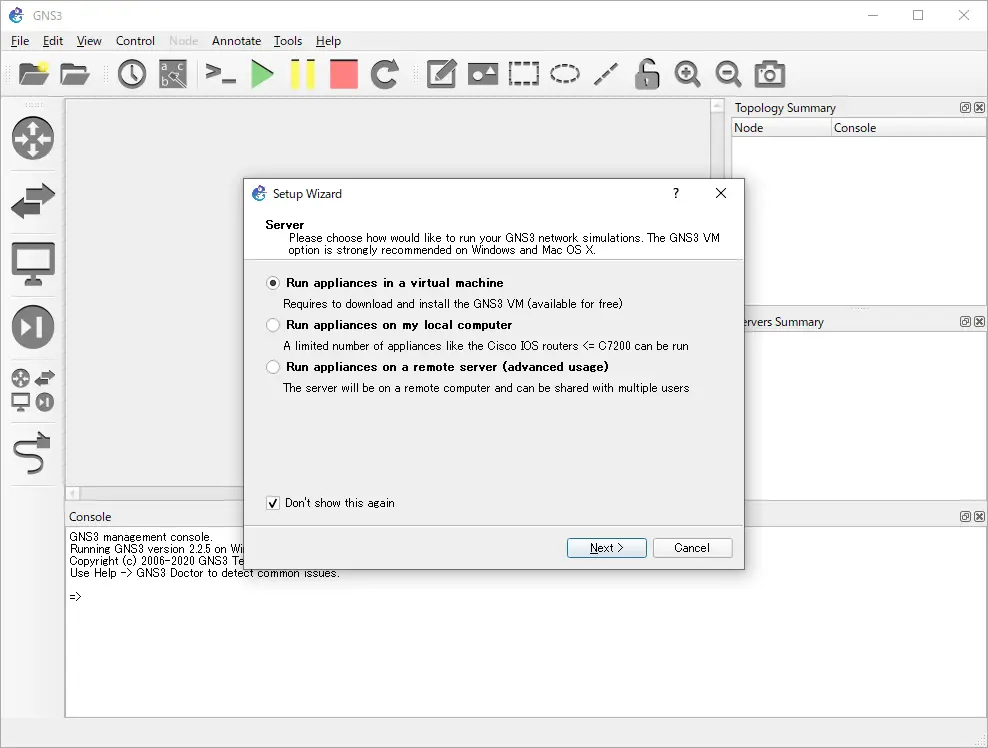
When the installation is completed, GNS3 will start automatically and the following setup wizard will be displayed.
How to use GNS3
- Installation of GNS3 (Windows10)
- How to Upgrade GNS3 version
- How to download IOS of the real router to PC
- Creating IOS Router Template
- Setting up the GNS3 VM server
- What to do when GNS3 VM does not turn green in Servers Summary?
- Creating an IOS router template (VM server)
- How to Use IOU(IOS on Unix) on GNS3
- How to Use CSR1000v on GNS3
- Creating GNS3 project
- Link to Host OS
- Example of linking to the host OS
- How to add a VMware virtual machine to a GNS3 topology
- VPCS Configuration and Operation
- How to Add Docker Container Linux Hosts
- How to use FRR (Free Range Routing) container on GNS3
- How to Use GNS3 Appliances
- Managing Snapshots
- Export/Import configuration
- Packet Capture
- Edit startup-config directly
- How to change the Solar-PuTTY font and background color
