Table of Contents
GNS3 Project
GNS3 project is the verification environment you want to verify with GNS3. This section explains how to create a GNS3 project.
Step 1: Creating a new GNS project
When you start GNS3, the wizard for creating a new project will start up by default. Enter a new project name and click [OK] to create a new GNS3 project. You can also start the same wizard by clicking [File]→[New Blank Project].
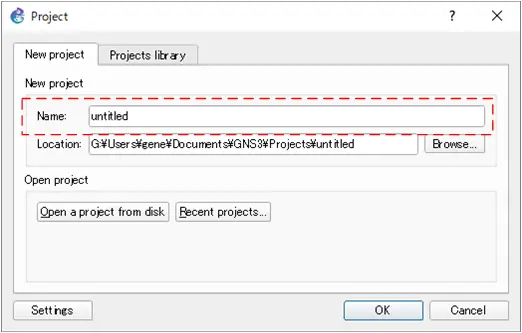
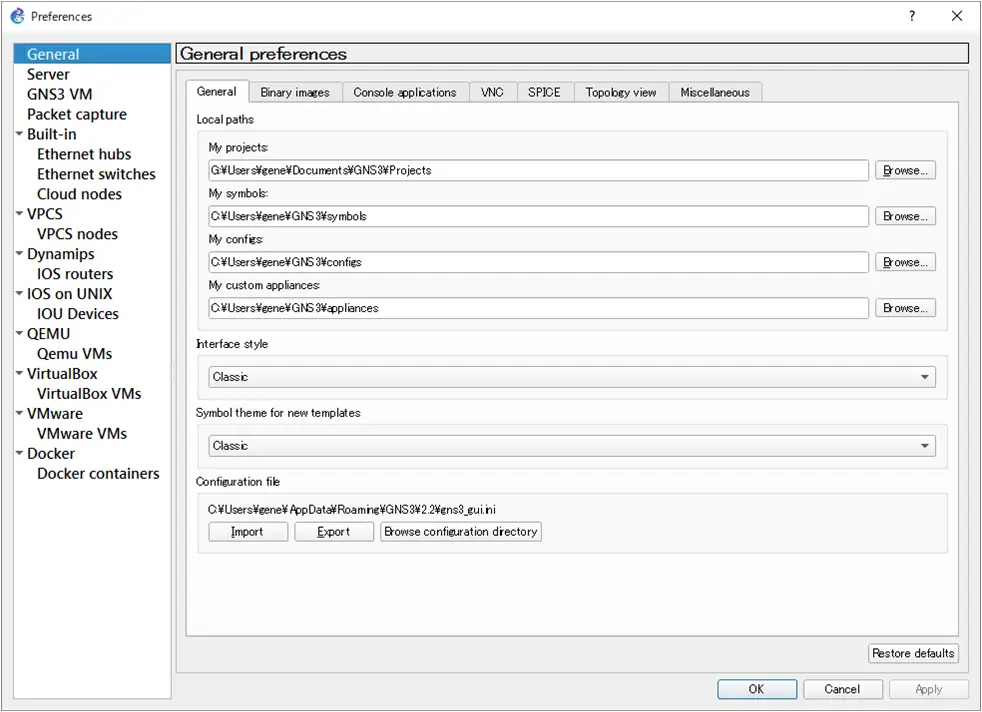
You can change the default path where project files are saved from [Settings].
Step 2: Equipment placement
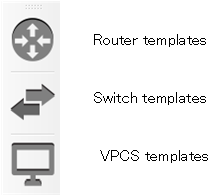
Place the device you want to use. Click the router icon on the left to display the template for the registered router. Drag the device you want to place to the project workspace.
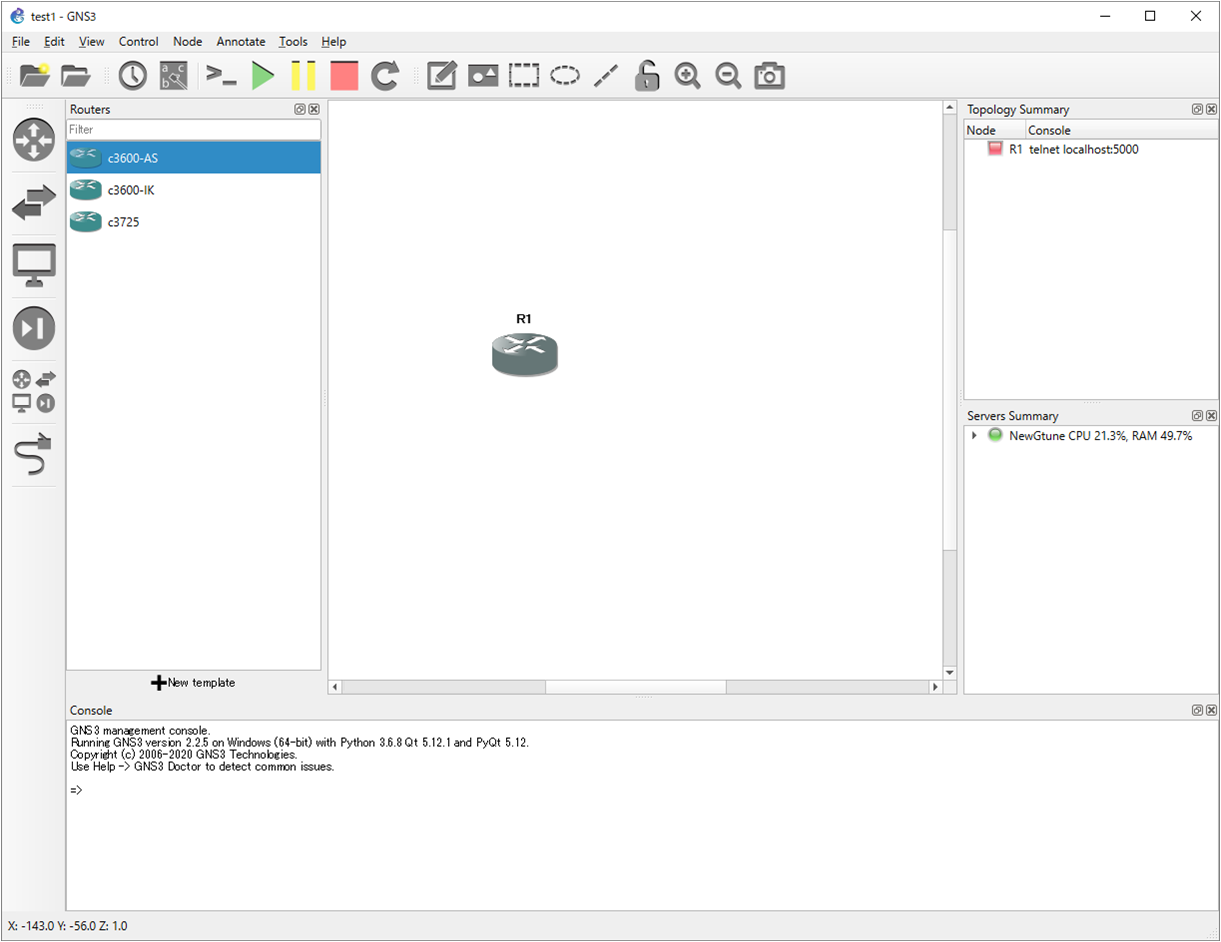
When you place the device, a file for each device will be generated in the GNS3 project directory. The startup-config of the router will be generated in the following path.
[project-path]\[project-files]\[dynamips]\[UUID]\[configs]
Step 3: Create a link
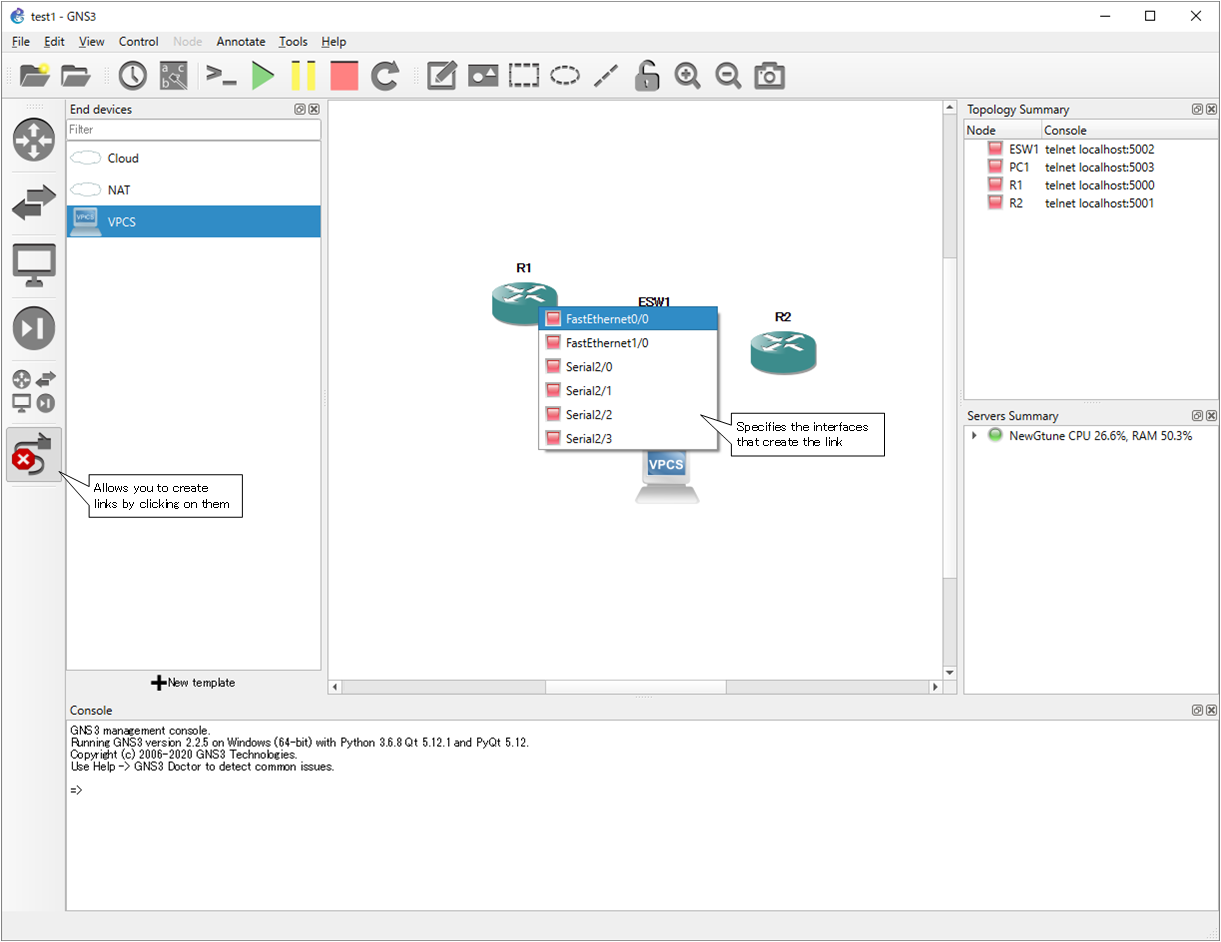
Create a link between the interfaces of the deployed devices by connecting them to each other. To create a link, click on the cable icon. The cursor will then change to a crosshair shape.
Click on the device you have placed in the workspace to specify the interface you want to configure the link for.
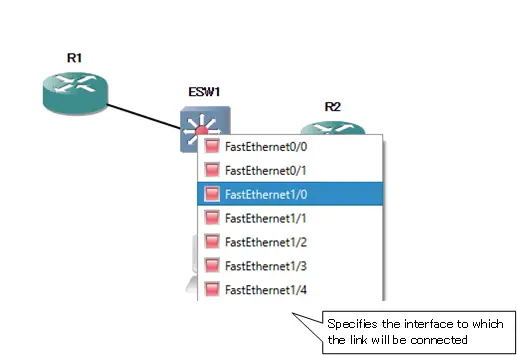
Then, click on the device you want to connect to and specify the interface to which you want to connect the link.
Step 4: Activating the device
The devices on the workspace can be started by clicking the “Start” icon. To start an individual device, right-click on the device’s icon and click “Start” to start it.

Once launched, the interface status will turn green and the device status on the right side of the screen [Topology Summary] will be green.

Step 5: Console access
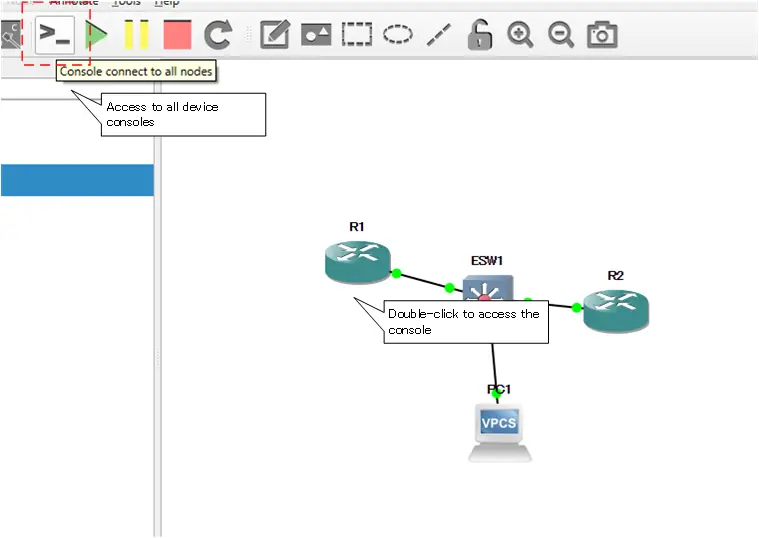
To access the console of the activated device, double-click on the device’s icon. Alternatively, you can click on the console icon to access the console of all devices at once.
The default terminal software is Solar-PuTTY.
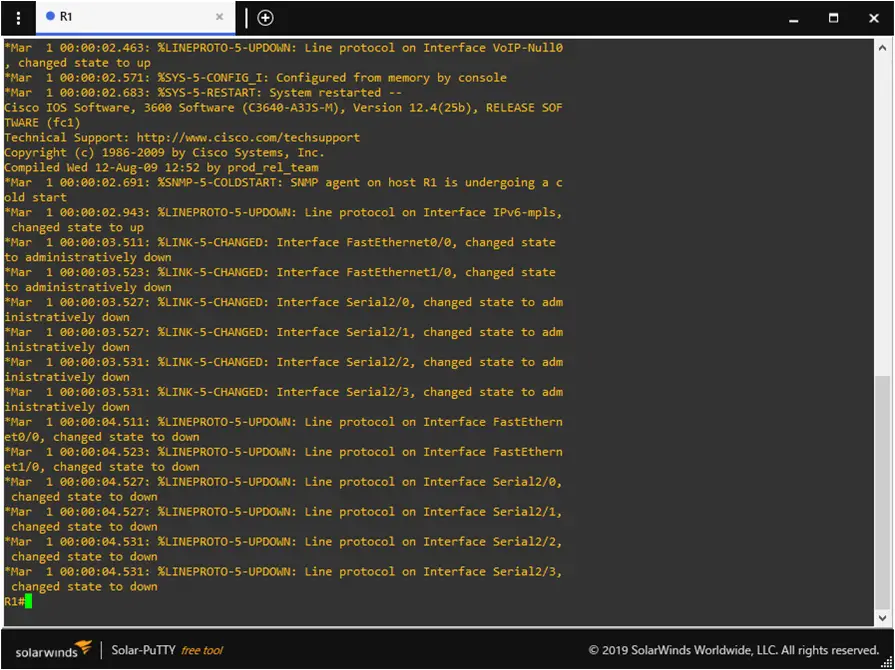
Access the console and use the verification environment you have created.
Step 6: Save the device configuration.
To save the configuration of the device, simply run copy running-config startup-config on the console. The next time you start the project, you can resume from executing copy running-config startup-config.
How to use GNS3
- Installation of GNS3 (Windows10)
- How to Upgrade GNS3 version
- How to download IOS of the real router to PC
- Creating IOS Router Template
- Setting up the GNS3 VM server
- What to do when GNS3 VM does not turn green in Servers Summary?
- Creating an IOS router template (VM server)
- How to Use IOU(IOS on Unix) on GNS3
- How to Use CSR1000v on GNS3
- Creating GNS3 project
- Link to Host OS
- Example of linking to the host OS
- How to add a VMware virtual machine to a GNS3 topology
- VPCS Configuration and Operation
- How to Add Docker Container Linux Hosts
- How to use FRR (Free Range Routing) container on GNS3
- How to Use GNS3 Appliances
- Managing Snapshots
- Export/Import configuration
- Packet Capture
- Edit startup-config directly
- How to change the Solar-PuTTY font and background color
