Table of Contents
Creating IOS Router Template
In creating a network diagram for the GNS3 project, you will create a router template. This section explains the procedure for creating an IOS router template that uses the IOS image file of the actual router.
Step 1: Prepare an IOS image file
You should save the IOS image file to local storage beforehand, and Cisco 3640 series IOS is relatively easy to obtain and use on GNS3.
Refer to the following article on how to download an IOS image file from your router.
Step 2: Open [Preferences].
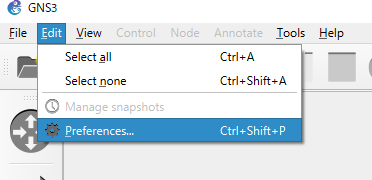
Start GNS3 and click [Edit] → [Preferences] to open the [Preferences] window.
Step 3: Open the IOS router template creation window.
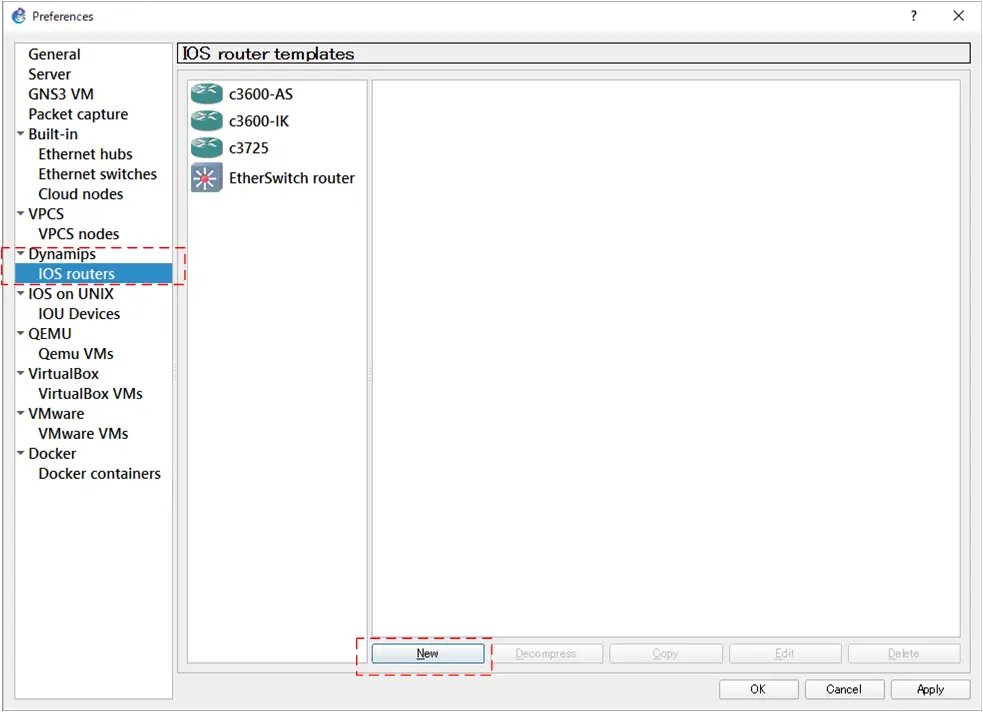
Select [IOS routers] and click [New] to open the Create IOS Router Template window.
Step 4: Creating the IOS router template
From the Create IOS Router Template window, create an IOS router template by specifying the required information.
IOS image file path
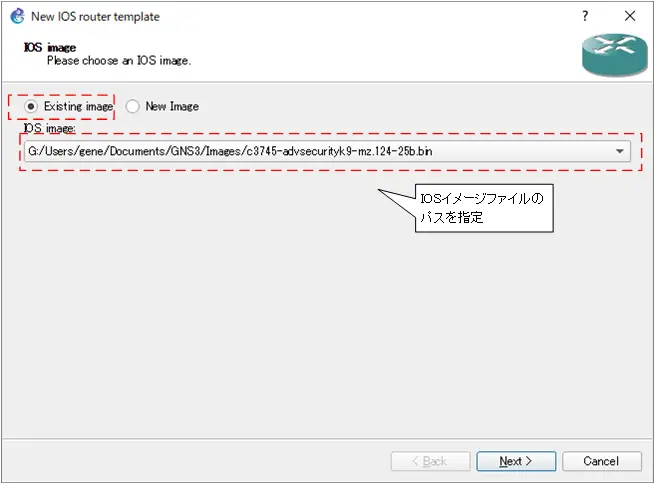
Select Existing Image and specify the path to the IOS image file.
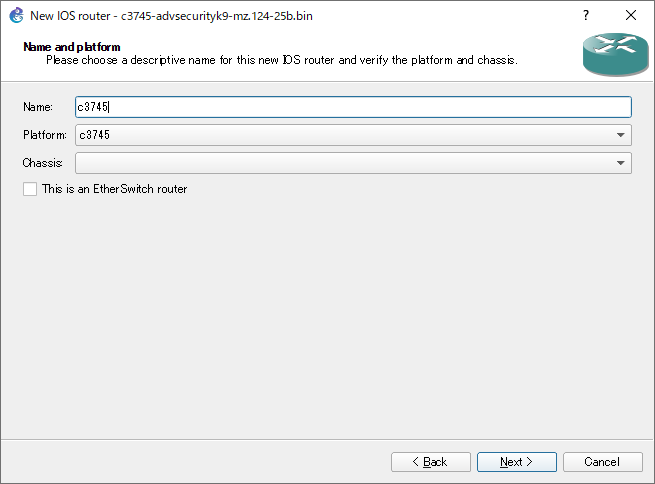
Template Name
The router’s template name is the platform name by default, such as “c3640”. You can specify the name of the template if necessary. it is useful to know the IOS feature set and version.
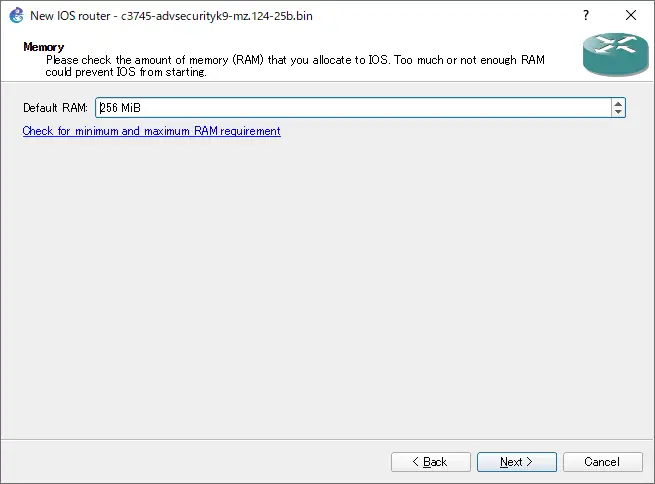
RAM size
Determine the amount of RAM in the IOS router you want to emulate. there is a link to the Feature Navigator to find out how much RAM you need for the IOS you are using in the Feature Navigator.
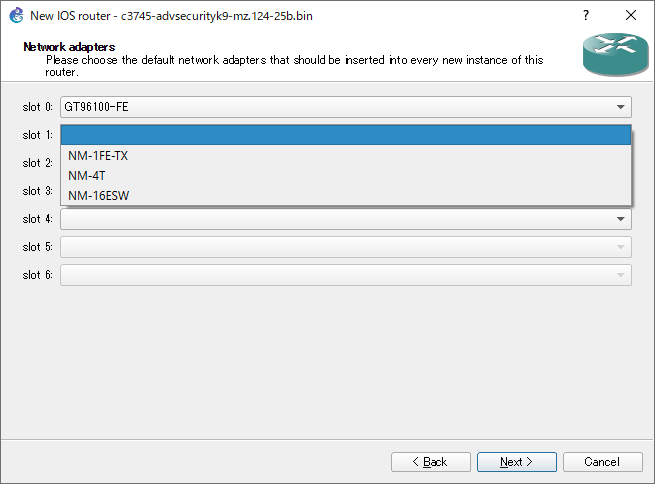
Modules to be mounted
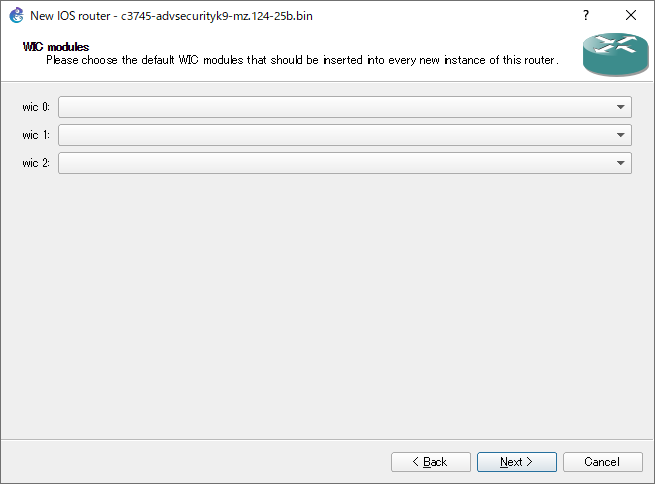
Select the modules to be mounted in the slot of the router. WIC can be mounted if necessary.
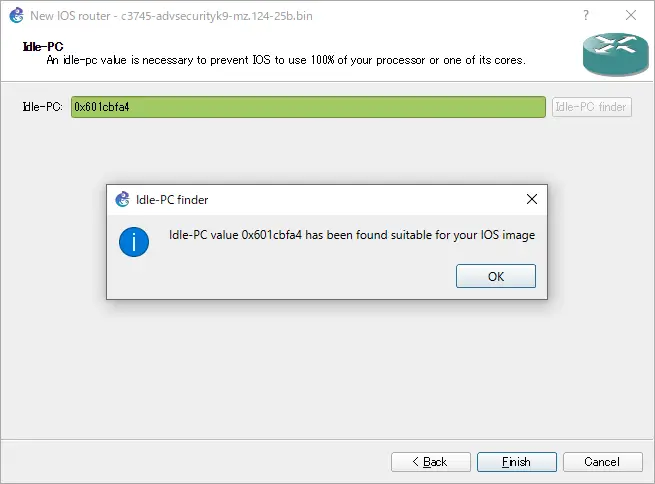
Idle-pc
Specify Idle-pc value. When you click [Idle-PC finder], the appropriate Idle-pc value is measured. When an appropriate value is measured by the [Idle-PC finder], click [Finish], and the creation of the IOS router template is complete.
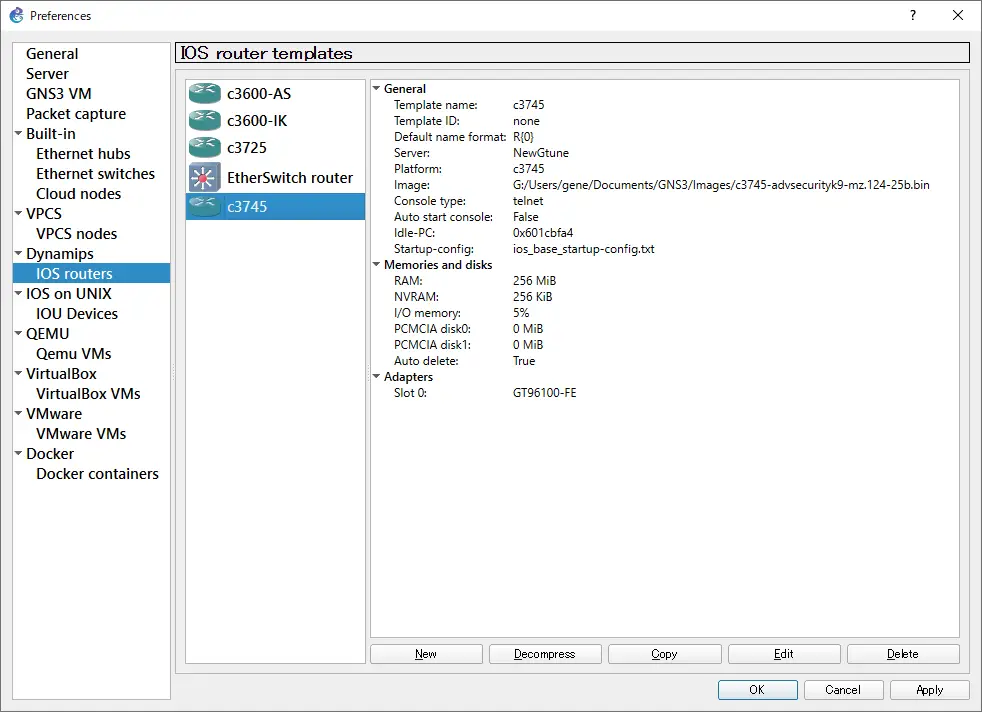
Step 5: Verify the IOS router template
Verify the contents of the IOS router template you created.
Creating an EtherSwitch router template
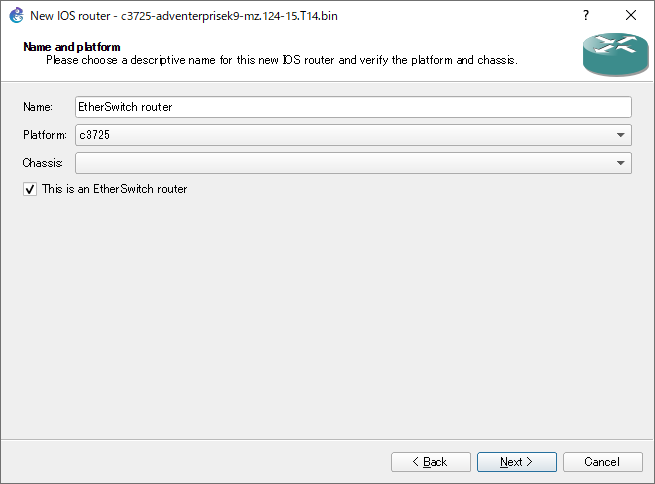
Using the actual IOS image, create an EtherSwitch router template for use as an L2/L3 switch. Just check [This is an EtherSwitch router] on the template name selection window.
Check [This is an EtherSwitch router] to automatically change the template name to “EtherSwitch router”. Change the name if necessary.
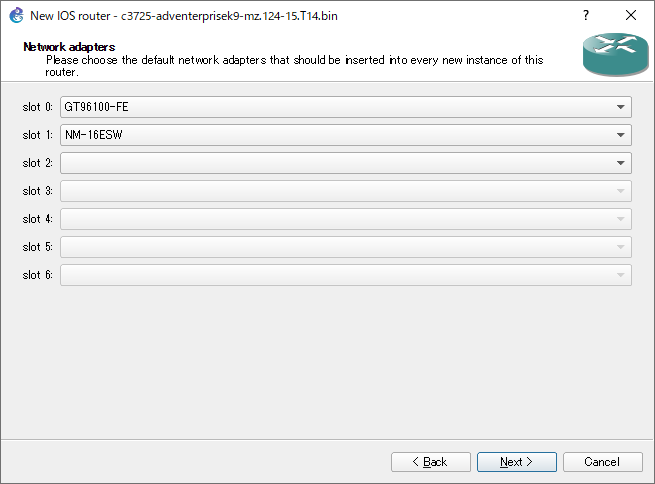
The slot1 is also automatically equipped with the “NM-16ESW” module; Fa1/0 to Fa1/15 can be used as switch ports.
How to use GNS3
- Installation of GNS3 (Windows10)
- How to Upgrade GNS3 version
- How to download IOS of the real router to PC
- Creating IOS Router Template
- Setting up the GNS3 VM server
- What to do when GNS3 VM does not turn green in Servers Summary?
- Creating an IOS router template (VM server)
- How to Use IOU(IOS on Unix) on GNS3
- How to Use CSR1000v on GNS3
- Creating GNS3 project
- Link to Host OS
- Example of linking to the host OS
- How to add a VMware virtual machine to a GNS3 topology
- VPCS Configuration and Operation
- How to Add Docker Container Linux Hosts
- How to use FRR (Free Range Routing) container on GNS3
- How to Use GNS3 Appliances
- Managing Snapshots
- Export/Import configuration
- Packet Capture
- Edit startup-config directly
- How to change the Solar-PuTTY font and background color
