Table of Contents
Overview
Cisco CSR (Cloud Service Router) 1000v is available on GNS3, and this article explains how to use CSR1000v on GNS3.
CSR1000v is available by importing an appliance from GNS3 Market Place. Importing Market Place’s appliance for CSR1000v makes it easy to create a template to run CSR1000v on QEMU on GNS3 VM server.
Note that this page is based on the following environment
| Host OS | Windows10 Pro |
| GNS3 version | 2.2.33.1 |
| GNS3 VM version | 2.2.33.1 |
| Virtualization Hypervisor | VMware Workstation 16.6.2 |
It is also assumed that the GNS3 VM server setup is complete.
Related article
See also the following article on setting up GNS3 VM server.
Procedures for using CSR1000v
The procedure for using CSR1000v on GNS3 is as follows
- Step1:Download required files
- Download the GNS3 appliance file and CSR1000v image file.
- Step2:CSR1000v template creation (import of GNS3 appliance)
- Import the appliance file to create the CSR1000v template.
- Step3:Place in a project for use
- The CSR1000v template is placed in the project for use.
Download required files
To create a CSR1000v template, download the following files
- CSR1000v appliance(From GNS3 Market Place)
- CSR1000v image file(From Cisco)
Download the appliance file for CSR1000v(cisco-csr1000v.gns3a) from GNS3 Market Place.
Link
GNS3 appliance file “cisco-csr1000v.gns3a”
The version of CSR1000v supported by this appliance file is listed.
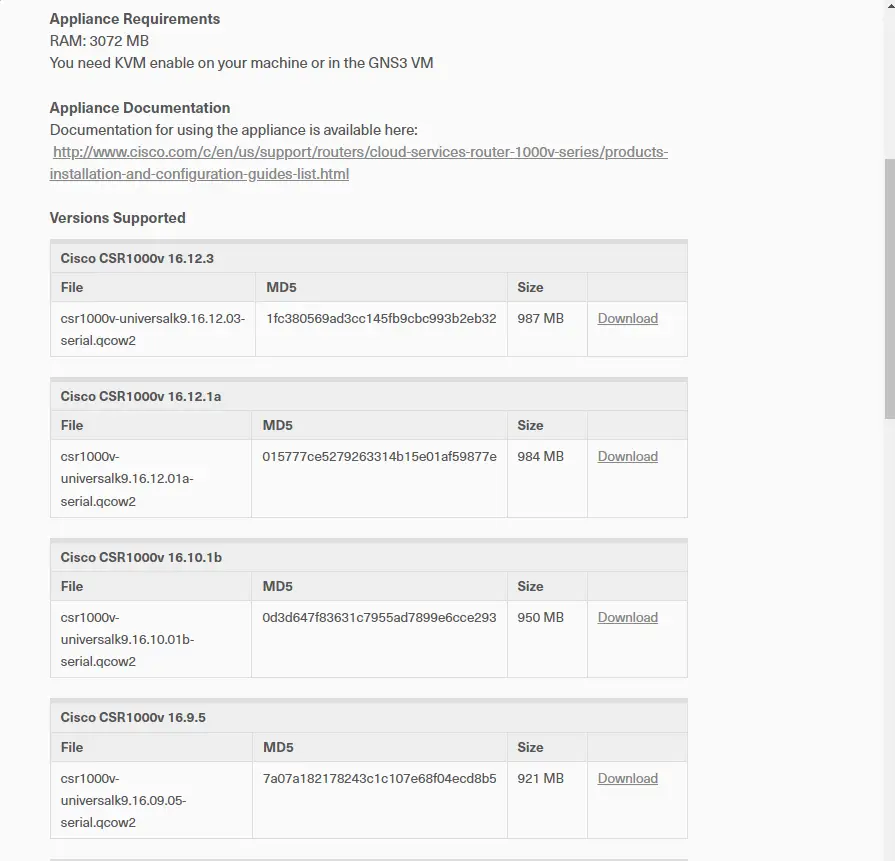
Select the version of CSR1000v you wish to use. [Download] links to the Cisco download page; download the appropriate CSR1000v from the Cisco website. The CSR1000v image file to be downloaded has the extension “.qcow2”.
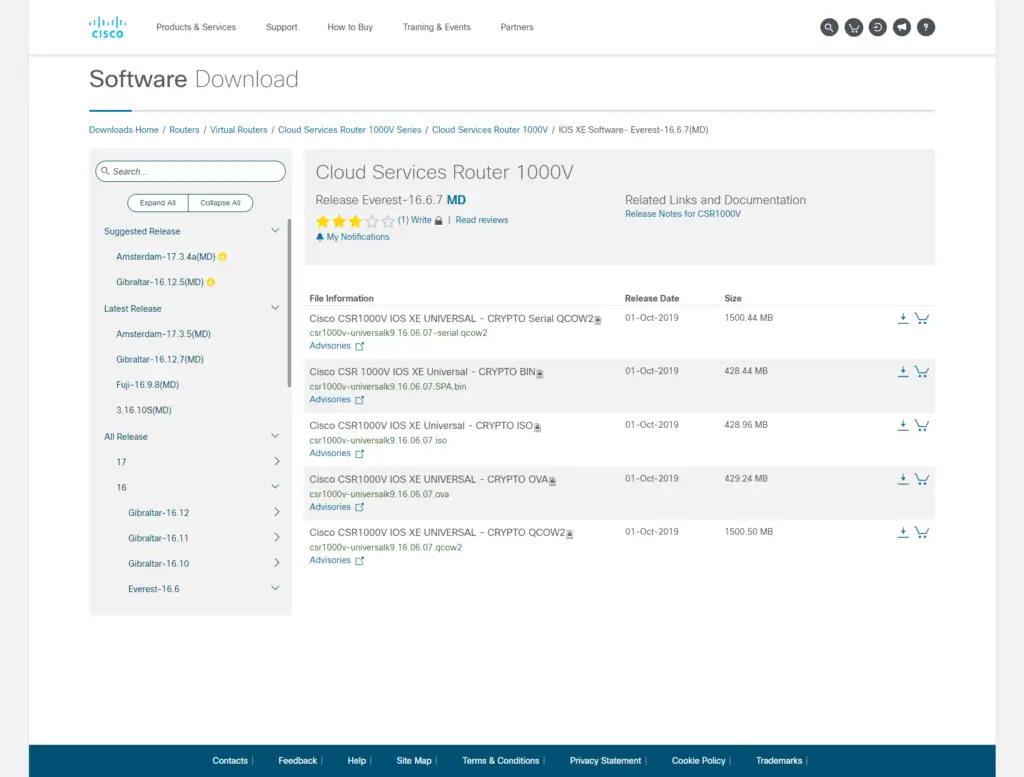
Please note that in order to download CSR1000v, you must have a service contract for the appropriate account. It is not free.
CSR1000v template creation (import of GNS3 appliance)
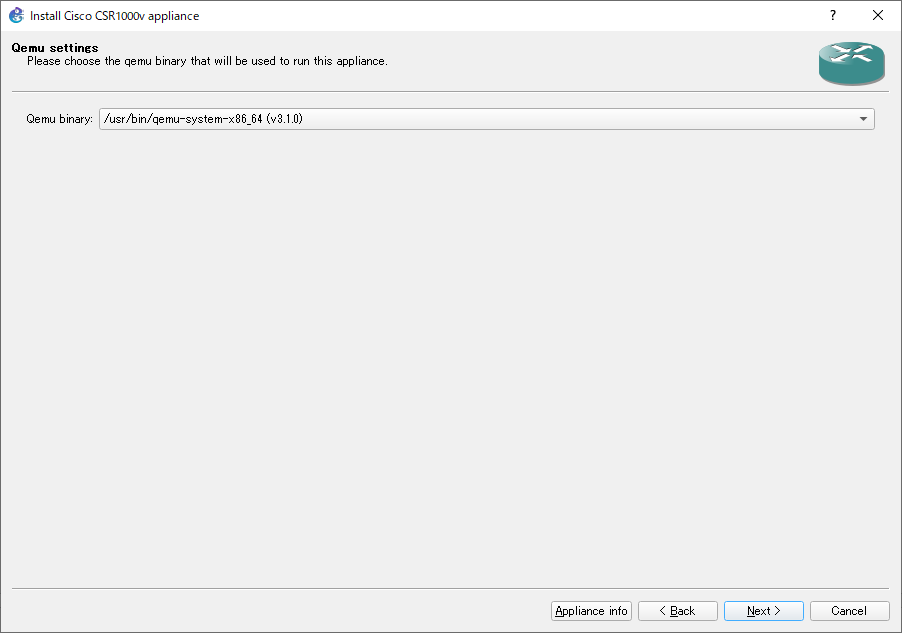
Once you have downloaded the necessary files, the rest is easy. Import “cisco-csr1000v.gns3a” from the GNS3 menu [File] -> [Import appliance]. Then follow the on-screen instructions.
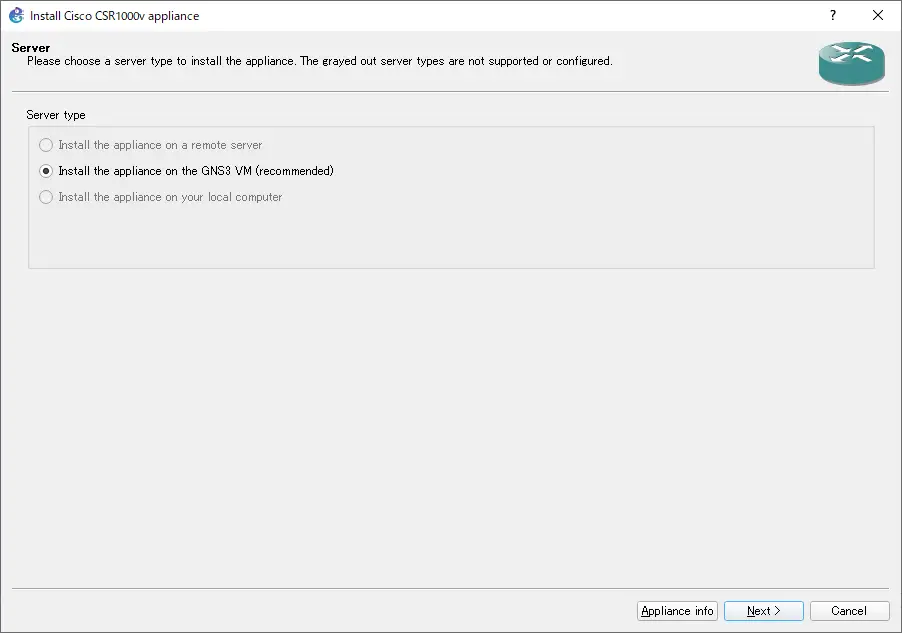
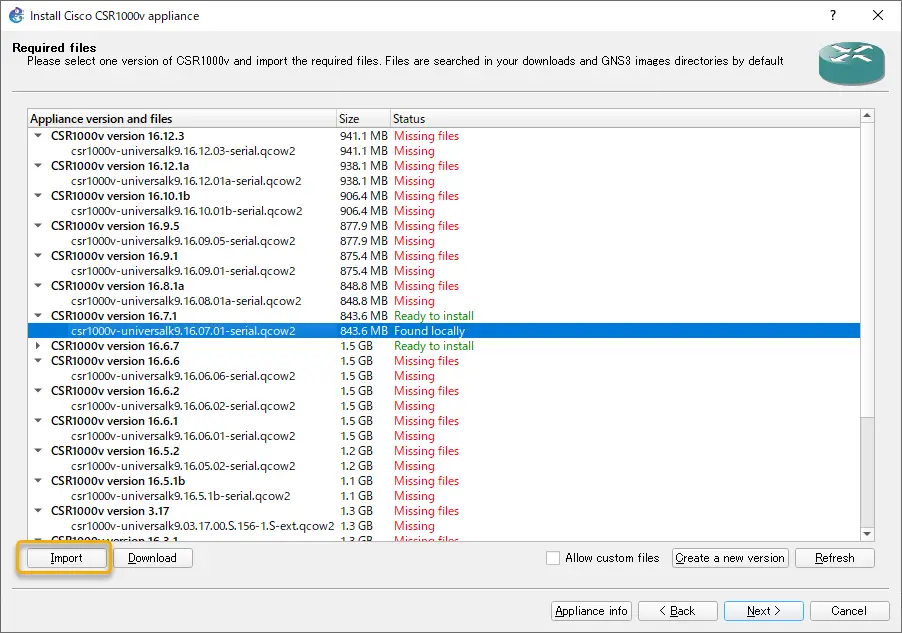
On the [Required files] screen, select the CSR1000v image file. Click [Import] to import the image file. Then select the image file you wish to use and proceed with [Next]. The CSR1000v image file will be copied from your local PC to the GNS3 VM.
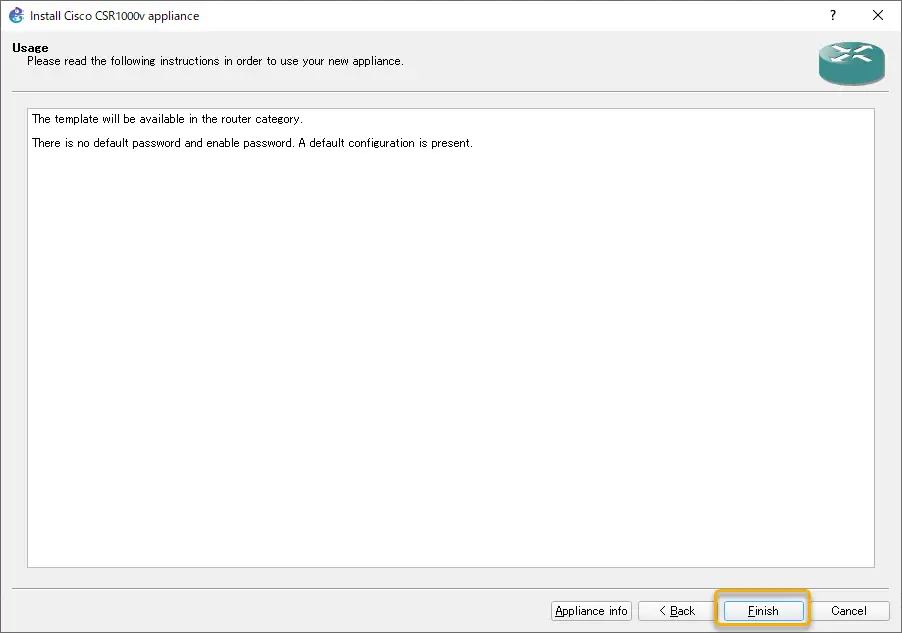
Click [Finish] to complete appliance import.
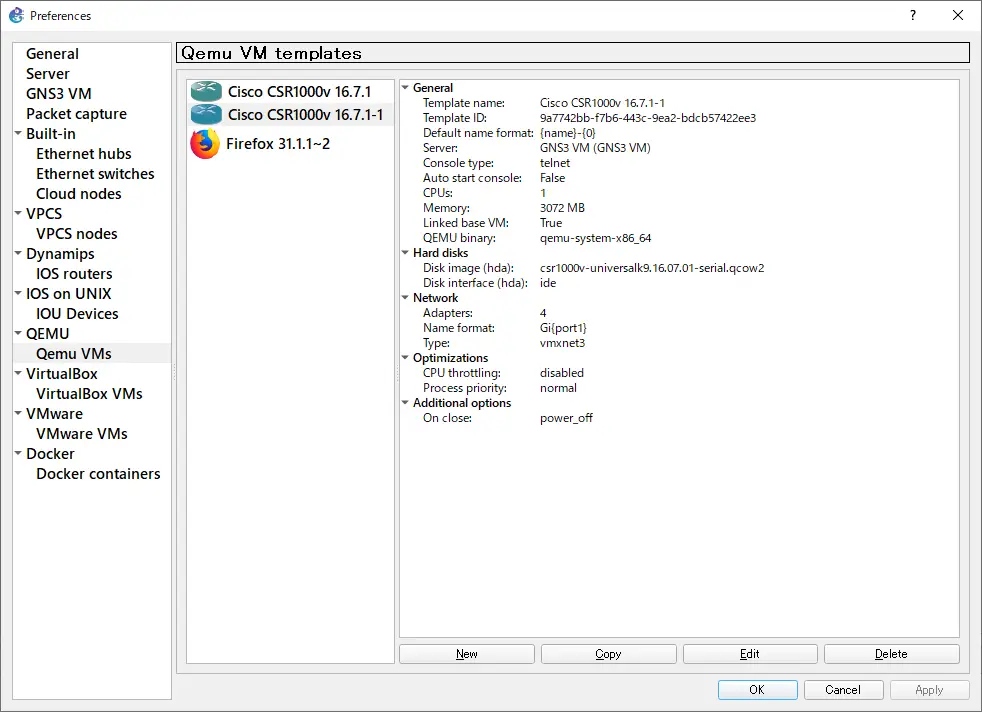
Templates created by appliance import can be found at [Edit]->[Preferences]->[Qemu VMs]. The template created in this appliance file has a GigabitEthernet 4-port interface. You can change the name of the template and the number of interfaces if necessary.
Place in a project for use
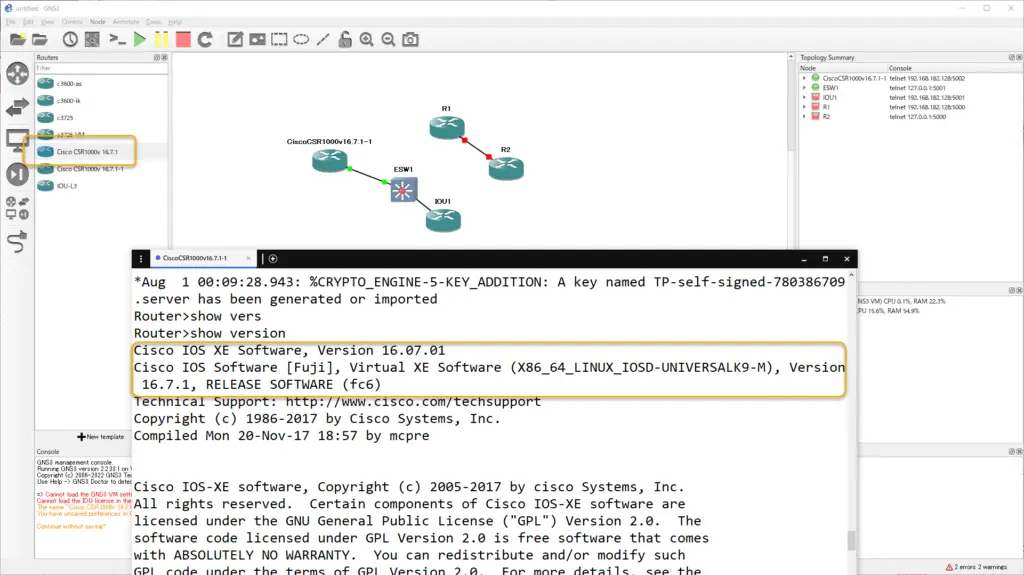
Once you have created the CSR1000v template, place it in your project workspace and use it; CSR1000v takes quite a while to start up (about 3 minutes).
How to use GNS3
- Installation of GNS3 (Windows10)
- How to Upgrade GNS3 version
- How to download IOS of the real router to PC
- Creating IOS Router Template
- Setting up the GNS3 VM server
- What to do when GNS3 VM does not turn green in Servers Summary?
- Creating an IOS router template (VM server)
- How to Use IOU(IOS on Unix) on GNS3
- How to Use CSR1000v on GNS3
- Creating GNS3 project
- Link to Host OS
- Example of linking to the host OS
- How to add a VMware virtual machine to a GNS3 topology
- VPCS Configuration and Operation
- How to Add Docker Container Linux Hosts
- How to use FRR (Free Range Routing) container on GNS3
- How to Use GNS3 Appliances
- Managing Snapshots
- Export/Import configuration
- Packet Capture
- Edit startup-config directly
- How to change the Solar-PuTTY font and background color
